Cross stitching is a popular form of embroidery that has been around for centuries. It involves stitching X-shaped stitches onto fabric to create a pattern or image. Cross stitching can be a relaxing and enjoyable hobby, and it’s a great way to create personalized gifts or home decor. In this beginner’s guide, we’ll cover the basics of cross stitching and provide tips to help you get started.
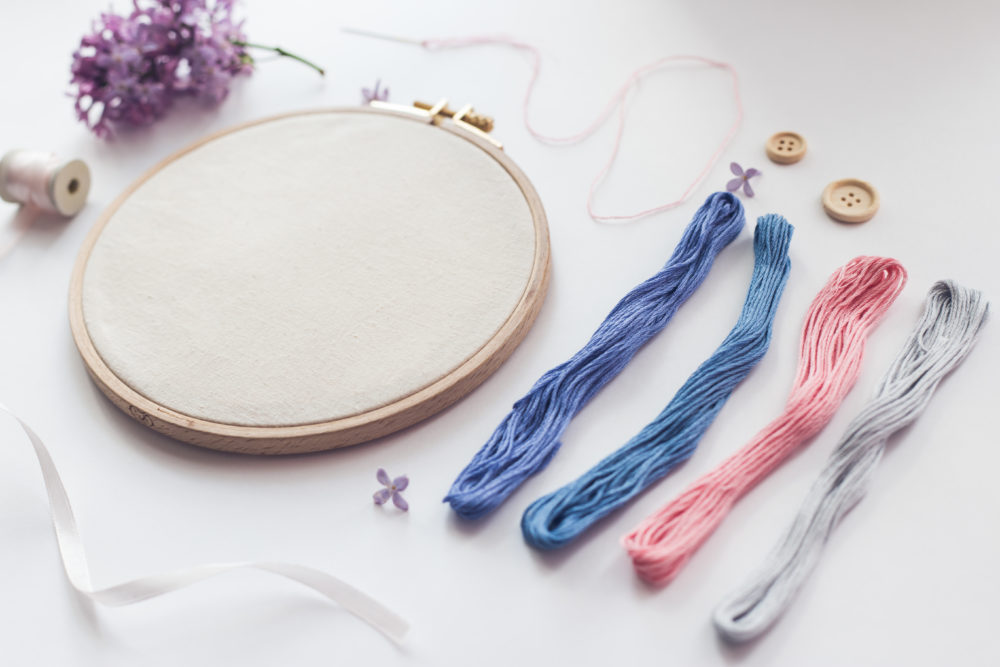
Supplies Needed To get started with cross stitching, you’ll need a few basic supplies:
- Embroidery floss: This is the colorful thread that you’ll use to create your stitches. Floss comes in a wide range of colors, and you’ll need to choose the colors that match your pattern.
- Fabric: The fabric you choose should have a tight weave, such as Aida cloth or linen. The fabric should also be pre-washed to prevent shrinking.
- Embroidery hoop: This is a circular frame that holds the fabric taut while you stitch. It helps prevent the fabric from bunching up or wrinkling.
- Needles: Choose a needle that is appropriate for the size of your fabric and floss. The needle should be sharp and easy to thread.
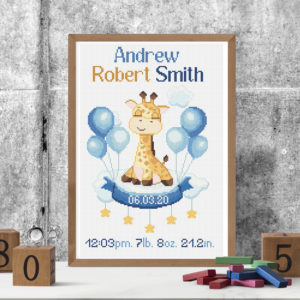
- Pattern: A cross-stitch pattern is a chart that shows you where to stitch and which colors to use. You can purchase patterns online or in craft stores, or you can create your own.
Getting Started Once you have your supplies, it’s time to get started. Here’s a step-by-step guide:
- Cut a piece of fabric to the size you need for your pattern. Be sure to leave a border around the edges to allow for framing or finishing.
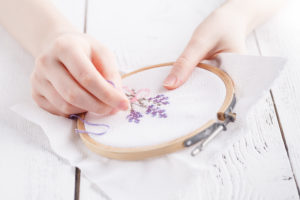
- Place the fabric in your embroidery hoop, making sure it’s taut but not too tight. Tighten the hoop screw to secure the fabric in place.
- Thread your needle with embroidery floss. Tie a knot at the end of the floss, leaving a tail that’s long enough to weave into your stitches later.
- Refer to your pattern and start stitching. Cross stitching involves making X-shaped stitches, so you’ll bring your needle up through the fabric at the bottom left of your first stitch and down through the top right. Then, bring the needle up through the bottom right and down through the top left. This completes your first stitch.
- Continue stitching, following the pattern and using the appropriate colors. When you need to change colors, simply cut the floss and tie a knot on the back of the fabric. Weave in the ends of the old and new floss to secure them.
Tips for Success Here are a few tips to help you get the most out of your cross stitching:
- Always start in the center of your pattern and work outward. This will help ensure that your design is centered on the fabric.
- Keep your stitches uniform in size and direction. This will make your finished project look neater and more professional.
- Use a needle minder or magnetic pin cushion to keep your needle safe and easy to find.
- Take breaks often to prevent eye strain or hand fatigue.
- Don’t be afraid to experiment with different colors or patterns to make your cross stitching unique.
Conclusion Cross stitching is a fun and creative hobby that can be enjoyed by anyone. With a few basic supplies and some practice, you’ll be able to create beautiful designs and patterns that you can be proud of. So grab your needle and thread and start stitching!